7
The Curse of Zogar Sag
Peering from the mast, you see the faint outline of towers in the distance. Civilization, at last! You breathe a sigh of relief before glaring down to your once-loyal companions on the deck below. You quell the rage simmering in your heart at the sight of them. Even though they don’t deserve to enjoy the comforts of civilization, you can’t man this ship alone. Holding your tongue, you climb down the rigging. Ignoring their suspicious glances, you make for land.
Upon reaching the docks, you soon realize Kordava is not how you recall. The guards and town folk glare at you, and even the women of the night, once so welcoming, sneer as if you reeked of fish guts and perfume.
The ungrateful companion whose hide you saved a lifetime ago turns to you. “Something is wrong, my friend. Though I am indebted to you many times over for my life, I find myself constantly fighting the urge to slip my blade into your heart.”
Hearing these words, you reach for your weapon, but he stays your hand with a quick motion. “Nay, my friend. I am not your enemy. That Pictish shaman has cursed us, the same curse that afflicted our captain.”
You glare at him, but push down your suspicion. In your heart, you know he speaks the truth. “What must we do,” you reply through gritted teeth.
“I fear there is but one way to remove this curse. We must destroy the artifact holding the essence of Zogar Sag to destroy his spirit. The Temple of Mitra in the heart of the city is known to hold sacred treasures from the north.
“It sounds simple to me,” interrupts the rogue. “Let’s raid the temple. We can gather all the relics,” he continues, brandishing a metallic sphere you didn’t realize he had, “and send them to Mitra in pieces!”
Objective
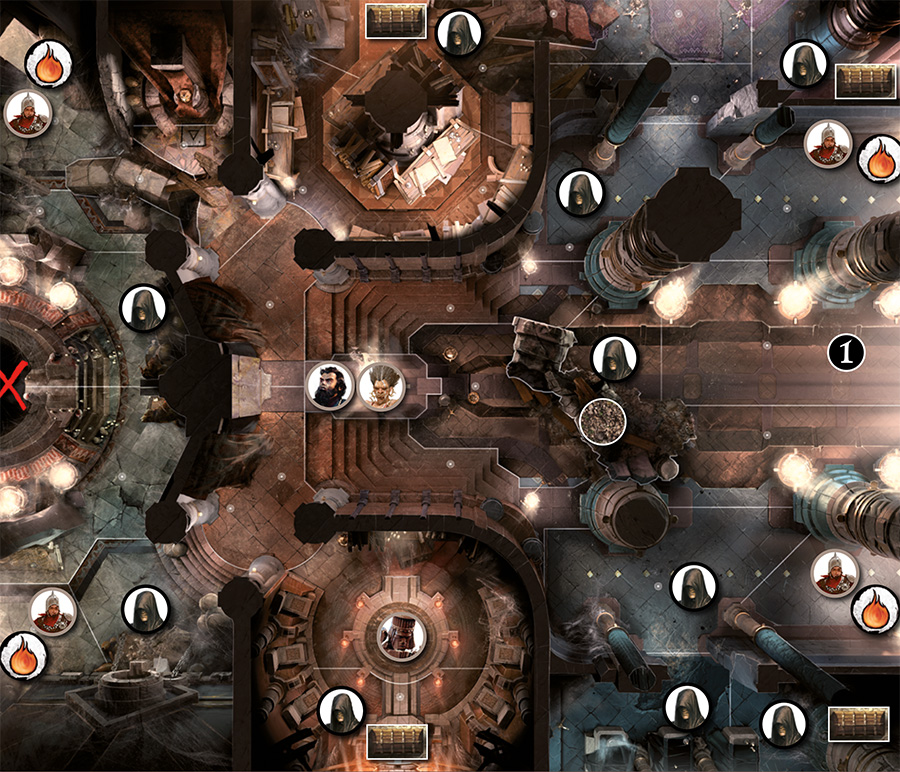
The Heroes win the game once they destroy the Pictish Fetish, Shaman’s Staff, and Stygian Artifact by throwing them into the area with the red X and then throwing the Explosive Orb in after them.
Setup
The game starts with the Heroes’ turn. The Heroes deploy in the area marked
 .
Place 20 red gems in the Recovery Value Tile space in the Book of Skelos; this will serve as the Ascension Pool.
.
Place 20 red gems in the Recovery Value Tile space in the Book of Skelos; this will serve as the Ascension Pool.
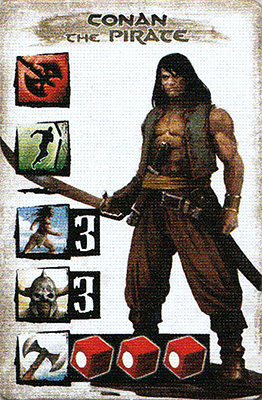
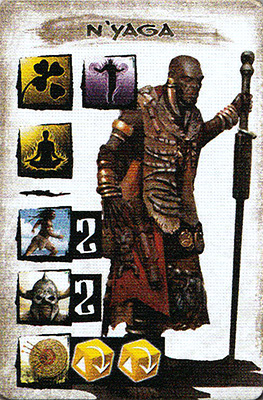
Assign each character an Overlord tile as follows to keep near their dashboard:
| Warrior | Rogue | Sorcerer |
 |
 |
 |
 |
 |
 |
Set aside Activation tokens 1, 2, and 3 from the second set of Activation tokens provided in this expansion.
 |
After setup, each Hero moves 4 gems from their Reserve zone to their Fatigue zone. |
Asset Deck
Chests require a complex Manipulation with difficulty of 2 to open. The Asset Deck contains an Explosive Orb, Pictish Fetish, Shaman’s Staff, and Stygian Artifact.
Special Rules
Map notes: Standard map rules apply.
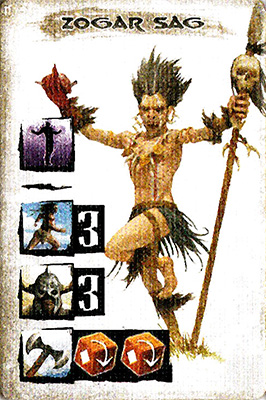
Zogar Sag: Zogar Sag is a spirit and cannot be attacked, damaged, or Hindered, but he is included when determining Protected status or Hindering. When Zogar Sag activates, perform these steps in order:
- Cursed Possession: As long as there is more than 1 Hero alive, Zogar Sag takes control of a Hero. Shuffle the extra Activation tokens assigned during Setup and draw one to randomly determine which Hero is possessed.
- Activate all revealed enemy units. Players choose the order in which to activate these units.
- Activate the possessed Hero using the Overlord tile assigned to them during Setup. Treat the possessed Hero as an Overlord unit for the purposes of Targeting and Hindering during this activation. Once this activation ends, the Cursed Possession ends.
- Activate Zogar Sag.
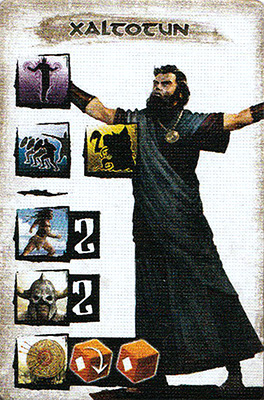
Priest of Mitra: When Xaltotun activates, perform these steps in order:
- Pray to Mitra: Xaltotun prays for Mitra to protect him. Remove 5 gems from the Ascension Pool.
- Activate all revealed enemy units. Players choose the order in which to activate these units.
- Attack: if any Heroes are in Line of Sight, Xaltotun will attack them with his Ranged attack.
Note: Xaltotun does not move from the altar.
Blood Sacrifice: Each time any unit dies, remove 1 gem from the Ascension Pool.
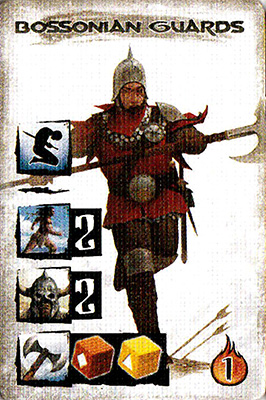
Bossonian Guards: Before activating the Bossonian Guards, add 1 guard to each area with a Reinforcement token. Then activate all Bossonian Guards. A maximum of 15 Bossonian Guards can be on the board at one time.
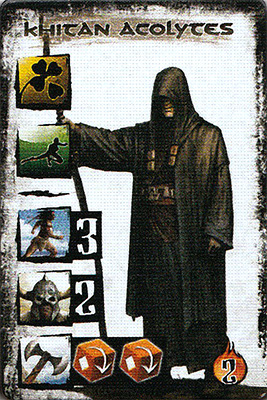
Khitan Acolytes: Before activating the Khitan Acolytes, add 1 acolyte to each area with a Reinforcement token. Then acti- vate all acolytes. A maximum of 10 Khitan Acolytes can be on the board at one time. Acolytes target the strongest Hero.
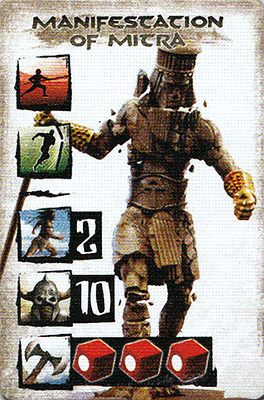
Manifestation of Mitra: If at any time there are no gems in the Ascension Pool, the Manifestation of Mitra awakens and the priest escapes through a secret door. Replace the Xaltotun tile with the Manifestation of Mitra tile. In addi- tion, place a second Manifestation of Mitra tile at the end of the river. Place an Activation token for this tile face-up in the Fatigue zone of the Book of Skelos. The Manifestation of Mitra targets the strongest Hero and is considered an over- sized unit.
Options
Non-Campaign Mode
Heroes may choose one Boon from the options listed in the Hero Victory section on page 32.
Cache: Akbitanan Sword, Anchor, Atlantean Axe, Bossonian Bow, Buckler, Chain Mail, Cutlass, Dagon’s Circlet, Dagger, Heavy Spear, Leather Armor, Lockpick, Mantle of Gullah, Parrying Dagger, Scale Mail Shield, Sorcerer’s Scepter (see page 22), Spiked Shield, Stygian Cloak, Sword, Throwing Knives, Tribal Macee
Spells: Bori’s Rage, Born by the Wind, Mitra’s Halo, Mitra’s Healing, Pestilential Swarm, Set’s Halo, Summon Demon (Outer Dark Demon), Telekinesis, Ymir’s Retribution, Yog’s Hunger
Four Player Mode
|
Sellsword
|
Substitutions
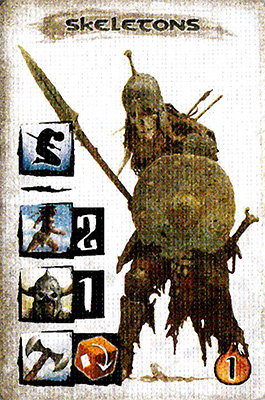
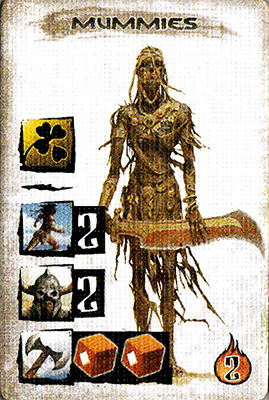
Temple of Set (easier): Replace the Bossonian Guards with Skeletons, the Khitan Acolytes with Mummies, and the Manifestation of Mitra with the Manifestation of Yog.
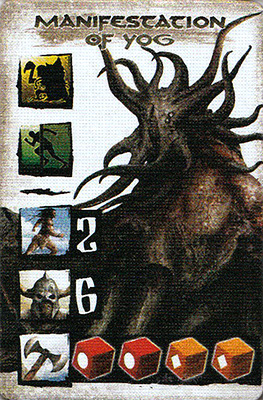
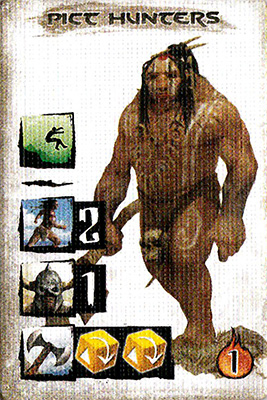
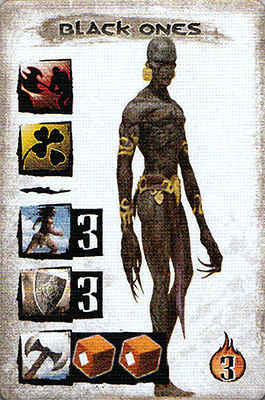
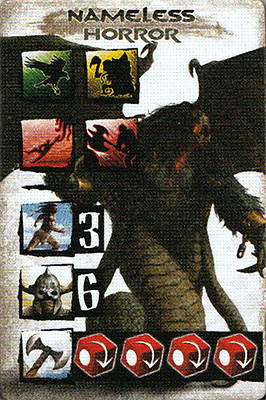
Temple of Gullah (harder): Replace the Bossonian Guards with Pict Hunters, the Khitan Acolytes with Black Ones, and the Manifestation of Mitra with the Nameless Horror.
|
|
|
|

|

|
|||
 |
|
 |
 |
 |
 |
|
|
8

|
15
|
Hero Victory: If the Heroes win, they are awarded 1 Victory Point per surviving Hero. Consult the Victory Chart on page 13 to see how history will remember you.
Hero Defeat: If this scenario results in a Defeat, lose one Victory Point. Consult the Victory Chart on page 13 to see how history will remember you.